You can use iPads to access the Raspberry Pi, then run C-STEM Studio to program and control robots directly. However, extra setups need to be done on the Pi through Windows or Mac first. Therefore, before you move forward to the following tutorial, you should make the Pi work with either Windows or Mac. You can find the tutorials for Windows and Mac on the side menu.

1. Set up Wi-Fi with Static IP Address for a single Raspberry Pi or a classroom set of Raspberry Pis in Windows or Mac
This step will be done on Windows or Mac. So it assumes that you have done other tutorials and made your Raspberry Pi work with Windows or Mac. If you are setting up a classroom set of Raspberry Pis, you must complete these steps 1-7 for each Pi individually.
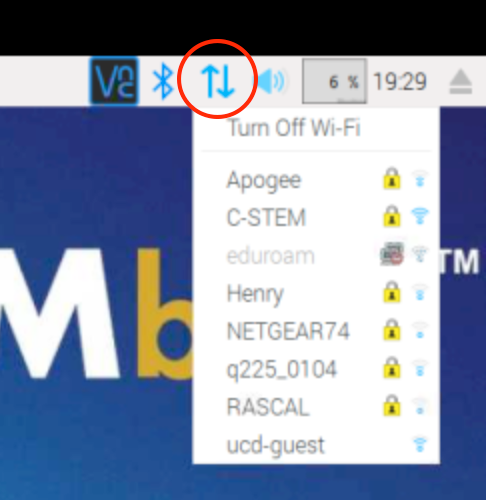
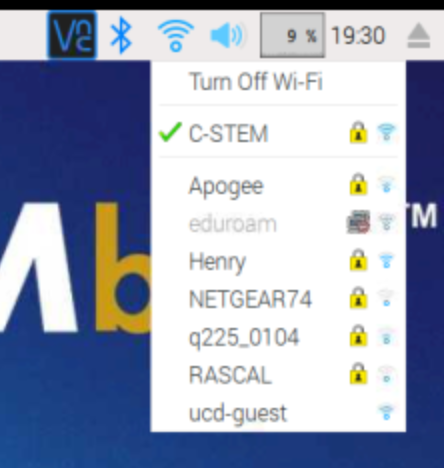
- Log into your Raspberry Pi as described in Access from Windows, Access from Mac or Access Wirelessly. Your wireless connection shall displayed as follows.
- Put your mouse on the icon for Wi-Fi for a second (without clicking)
- Write down the IP address (e.g. 192.168.1.104) associated with wlan0 in the float window

- Right click on the Wi-Fi icon and select “Wireless & Wired Network Settings”

- In the first pulldown menu next to “Configure:” select SSID. In the second pulldown menu, select the Wi-Fi network you are using on your Raspberry Pi (In the picture below, we are using the wireless network “C-STEM”).
- For “IP Address:” input the IP address you wrote down earlier (Step 3).
- Click “Apply”
2. Access the Raspberry Pi from iPad through Graphical User Interface (GUI)
Follow these instructions to access the Raspberry Pi from a iPad through graphical user interface.
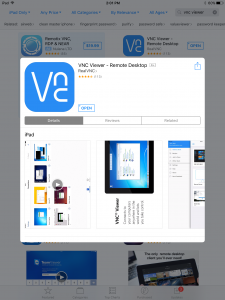
- Install VNC Viewer from the App Store.

- After downloading, VNC Viewer will now be in your apps on your iPad. Once it is opened, you may see some options to use automatic discovery, but we will not be using this. To get rid of it, swipe right until you can press ‘Get Started’.

- This menu pane will later contain the ‘desktops’ you are connected to. To add a new address to a ‘desktop,’ press the ‘+’ at the top right.

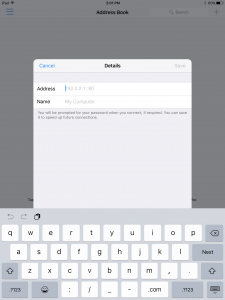
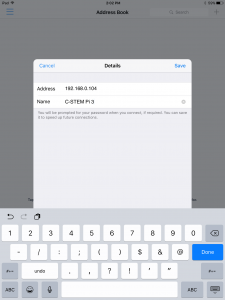
- You will then be prompted for the IP address of the computer you wish to connect to. Type in the IP address of the Raspberry Pi, which was written down earlier in section 1. You can choose whatever you like for the name.


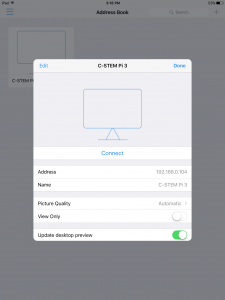
- Press ‘Save’ once finished and you should see a window, which allows you to connect.

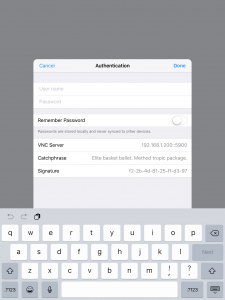
- In “Authentication,” use the user account “pi” and password “raspberry” to login.

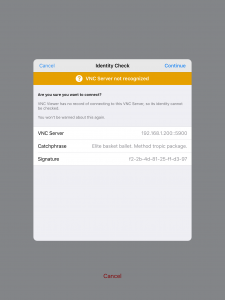
- You may be warned that the VNC server is not recognized. This is normal so just press continue.

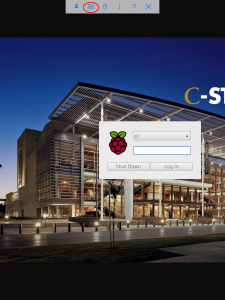
- On the desktop login screen, VNC Viewer will present some useful mouse gesture for navigating the screen.

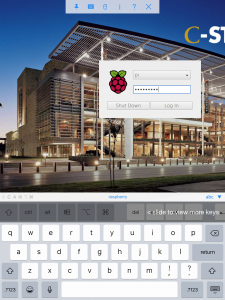
- ‘Click’ on the password form and then select the keyboard at the top.

- Use the user account “pi” and password “raspberry” to login.


3. If your screen is too big or flickering, you may need to adjust the resolution
- Open the Applications Menu (in top right corner of screen)
- Click “Preferences”
- Click “Raspberry Pi Configuration”
- Click “Set Resolution…”
- Choose an appropriate resolution for your monitor. (for example: CEA mode 16 1920×1080 60Hz 16:9)
- It will ask you to reboot. Click Yes.
4. Click the icon on the top left as shown below to launch C-STEM Studio.
![]()
C-STEM Studio in Raspberry Pi is the same as that in Windows and Mac OS X.
5. For Advanced Users: Access the Raspberry Pi through Command Line Interface (CLI)
This tutorial will teach you how to access the Raspberry Pi from a Chromebook through command line interface. Before you start the following instruction, make sure you have connected the Pi with Wifi and you have the IP address written down.
- Before you can access the Pi through the CLI, you must enable ssh. To do so,
- Click the Start Menu (the raspberry icon in the upper left corner)
- Click Preferences, then Raspberry Pi Configuration.
- Click on the Interfaces tab
- Next to SSH, check “Enabled”
- Install “Secure Shell” from Chrome Web Store

- Open “Secure Shell” after installation
- Type a nick name for your Pi in the box on the first line
- Type your username (“pi” by default) in the first box on the second line
- Type the IP address you found from last instruction in the second box on the second line
- Type 22 as the port in the last box on the second line

- Press Enter to connect
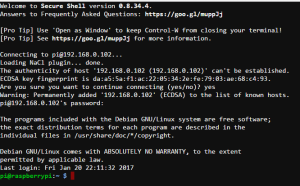
- Type yes and press enter when it is asking for authenticity for the first time
- Type in the password (“raspberry” by default)

- You have successfully logged into the Pi when you see a line “pi@raspberry:~$”
- (Optional) Type in “sudo passwd” to set up a new password instead of the default one for security consideration

