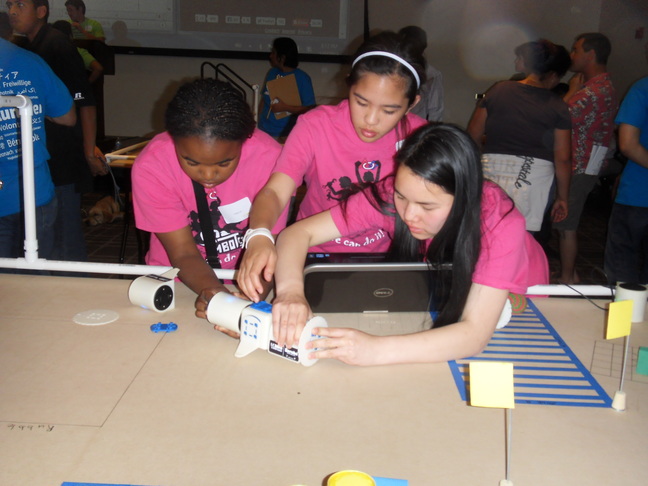
The RoboPlay Challenge Competition is designed for students to showcase their real-world problem solving skills in a competitive environment. This competition simulates an unexpected problem occurring at a remote location such as a space station or planetary habitat, where a robotic solution must be quickly developed and deployed, using only existing resources. The competition challenges students to creatively use modular robots and accessories to complete various tasks. The competition arena and specific challenge will be kept secret until the day of the competition. Using their math, programming, and problem solving skills, students try to most efficiently get the highest score for each task.
Early registration deadline: March 8, 2013
Final registration deadline: March 22, 2013
Video submission deadline: April 30, 2013
Date for Challenge Competition & Awards Ceremony: UCD C-STEM Day, May 4, 2013
More information can be found in the Call For Participation.
The handout for C-STEM Day is now available to view. It has everything but the challenges which will be included on the printed version disteributed on the day of the competition. The final program for the C-STEM Day includes the challenges.
Competition Schedule
The schedule for RoboPlay Competitions on May 4, 2013 is available HERE.
Divisions
- Junior Teams with students from middle schools
- Senior Teams with students from high schools
Rules
- All team members must be students in K-12 schools
- Each team must use Mobot or Linkbot, a reconfigurable modular robot available from Barobo, Inc. for the competition. In this years competition, all tasks can be accomplished by either three Mobot, or six Linkbot-I and Linkbot-L. On the competition arena, a team can use either three Mobot, or six Linkbot-I and Linkbot-L at the same time.
- Each team must bring its own Mobot and Linkbot and accessories for the competition
- A list of accessories for the Mobot and Linkbot are listed HERE
- Each team must use their own laptops. Each member can have one laptop. Use of other electronics during the competition, including other computers, calculators, cell phones, and other computing devices is not allowed.
- There will be no internet access during the competition. If a team is caught using the internet during the competition, the team will be disqualified.
- Once the competition has begun, the teams may speak to the Judges for clarification on problems, but should not talk to anyone else outside of their team.
- The Competition will last six hours split into two portions.
- The first three hours are for students to build and program their robots to complete the challenges presented at the start of the competition. The solutions must be completed during the first three hours.
- The last three hours are for teams to compete against each other to determine the winners of the Competition.
Team Registration
Registration is available for all three C-STEM Competitions: REGISTER HERE.
- Each team can have 3 to 5 students
- Each teacher can sponsor up to two teams
- Teams must register before the deadline to assure that there is enough time and space for all teams on the day of the competition
- Teams that register before the early registration deadline must pay a registration fee of $60 per team
- Teams that register before the final registration deadline must pay a registration fee of $80 per team
- Make all checks out to “The Regents of the University of California”
- All checks must be received by the final registration deadline
- T-Shirts and Lunch Tickets for Tercero Dining Commons may be purchased separately for $15 a piece
The Arena for Challenge Competition
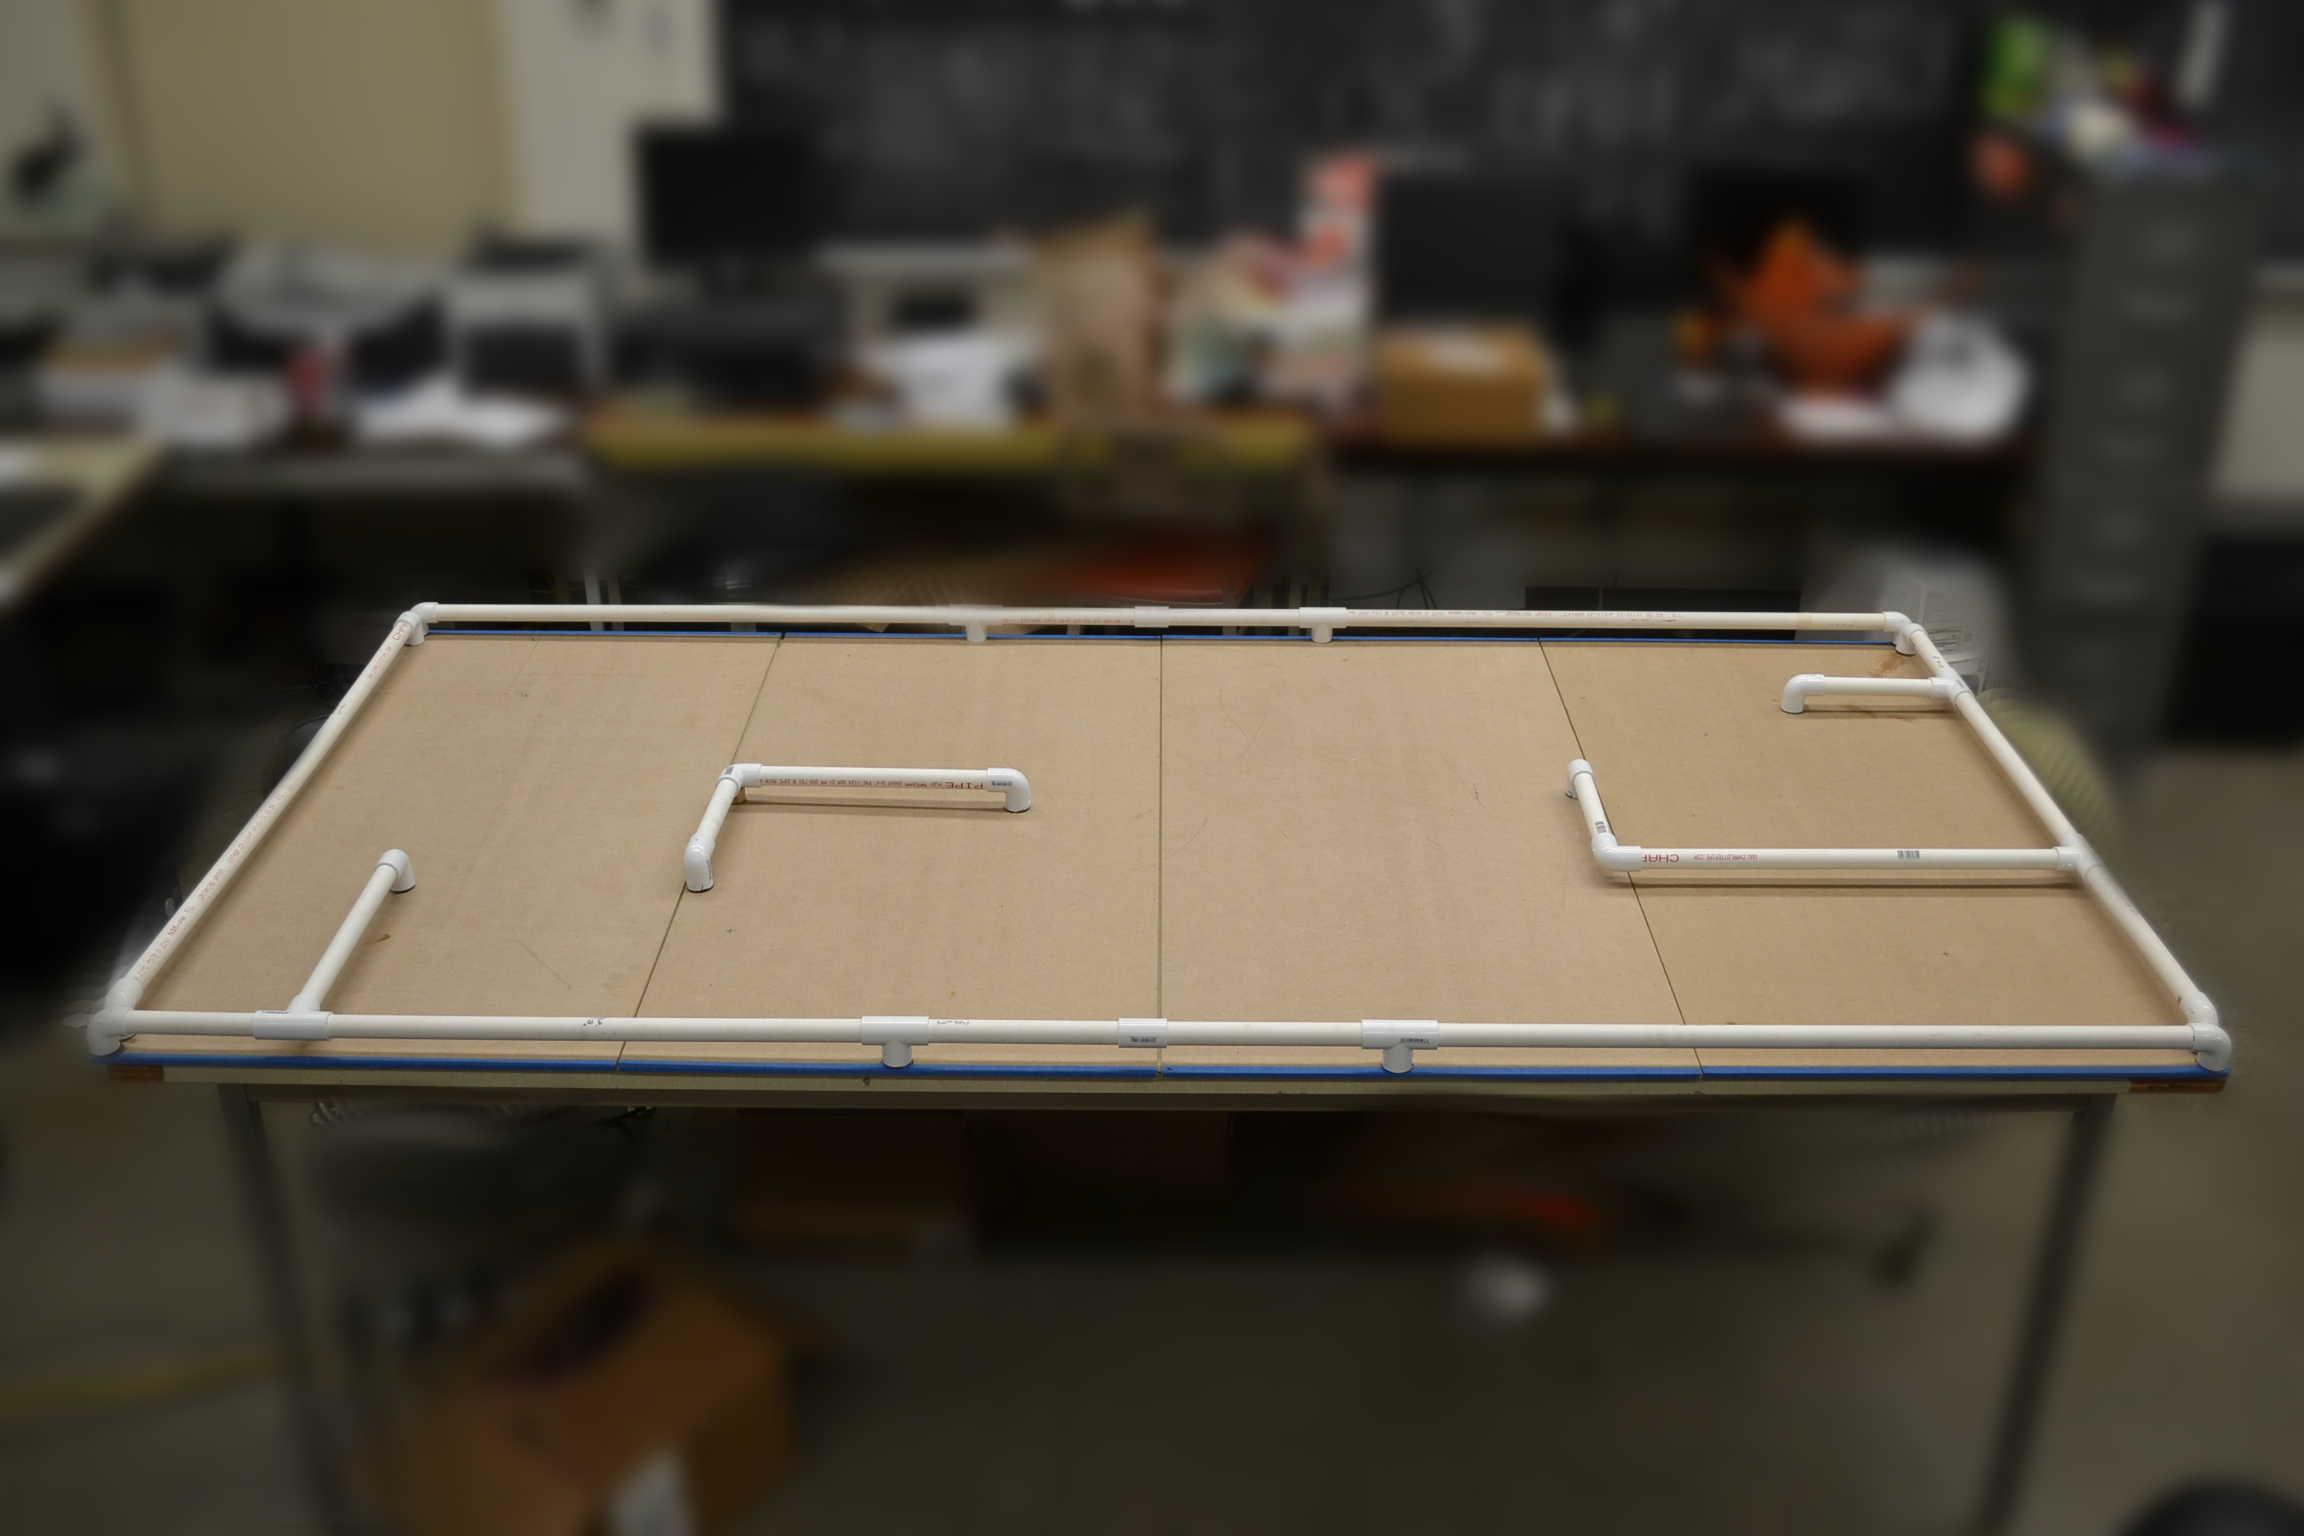
A possible competition arena for Autonomous Competition is described below. Each team should build their own competition arena for practice in school and bring it with you for use in the morning from 8:30am-12:30pm on the day of the competition. Note: The competition board shown below will not be the one on which the actual competition will occur. Keep in mind, this example board is given to allow students to get a feel for the surface the competition will take place on. The real competition board will have many other things and obstacles for each challenge task.
- The estimated cost for building this competition arena is $60.
- Bill of Materials (can all be bought at Home Depot or equivalent home improvement store):
- 4 (2 by 4 foot) mdf boards
- 26 feet of 3/4 inch PVC (should buy an extra couple of feet just in case)
- 15 corner PVC connectors
- 7 PVC “T” connectors
- 2 PVC sraight connectors (sometimes referred to as couples)
- 18 wooden pegs (cut from a 1/2 inch douglas fir dowel)
- 2 packets of epoxy glue to glue down the pegs to the board (can also use velcro here as well)

Below is a schematic diagram of the above board with dimensions: Note: The red dots are sample starting positions

Instructions for Challenge Board Construction
As with the large pvc segments, it would not hurt to have a few extra pieces of the connectors as well. Also bear in mind that the boards are actually 2 ft by 4 ft 1 inch , so you should measure out 1/2 of an inch on both sides and tape it off to show the true 4 by 8 area. As for construction the easiest way we found was to start with the outer walls first. The basic construction is as follows : The longer walls, that span 8 ft , will be placed flush with the edge of the boards, along the 8 ft length on both sides. They will hug the corners on both sides, and will have connecting points with pegs located on each of the boards. These pegs are cut from a wood dowel, 1/2 of an inch thick, either is fine as long as the couplings of pvc can fit in them. They are glued down with epoxy and can be made thicker with duct tape, to ensure a snug fit. The walls that would span the 2ft sides are going to be flush up against the 2 ft wall as well, but they will be inside the two 8 ft segments, meaning they will be slightly shorter, about an inch on both sides. A key point here in the construction is that because the end of two walls will sort of meet in the corners, the pegs put in place to hold them should be positioned properly, so that the walls are placed in the right position, but not to close that when the pvc couplings slide on top of them that the couplings of both walls will hit each other. Drawing outlines of where these pvc couplings make contact with the board is the best way to approach this, and then centering the pegs in the center of the holes drawn, or moving them towards one side of the outline, if the other side intersects with the other outline. After the outer walls are established, all other sections made should be measured from these walls, as long as they are in their proper positions and all measurements must be taken from the center line of the pipes and/or connections. When adding connectors to the wall it’s important to note that although the pvc goes about an inch into the connectors, there is a segment in the middle of the connector that adds length, roughly 1/2 inch. This is why when building the outer walls, all connectors that will be located in the wall in the future should be introduced in the construction of the walls, to avoid more work than is needed later. Cuts done by hand might not be straight so as long as enough is cut to fit in the connections, you can connect them without the pvc going all the way in the connections. Likewise, if the wall seems to long, there might be excess room in the connector that requires extra force to insert the pvc fully. No glue is necessary in the connections.
At the moment these instructions seem complete to us, but if anything is unclear or if there are any other problems in the construction, please let us know and we would be happy to help. Our construction lead’s email is jgonza(AT)ucdavis(DOT)edu. Please email if you have any questions about construction.

