In order to access your Raspberry Pi from a Mac machine, follow the steps below.
1. Connect your Raspberry Pi to your laptop using an Ethernet Cable for network access and Micro-USB for power
- Mac laptops do not have Ethernet ports, so you must use an Ethernet to USB adapter (shown in picture below). You can by one on Amazon.com here.

Raspberry Pi to Mac laptop configuration
2. Set up your Raspberry Pi following the instructions in step 2a or 2b below.
2a) Access the Raspberry Pi through Graphical User Interface (GUI) using RealVNC
-
- Download and install VNC viewer from the internet.
- Open up the VNC Viewer application. In the bar at the top, type “raspberrypi.local” and press Enter.

- Type “pi” for the Username and “raspberry” for the Password.
- The first time you connect the Raspberry Pi, your machine may take some time to recognize it. If the VNC viewer gives an error message “Cannot establish connection,” please wait a few minutes and try again.
- The first time you connect the Raspberry Pi, a screen will pop up with “VNC Server not recognized” Click Continue
- On the desktop login screen, use the user account “pi” and password “raspberry” to login


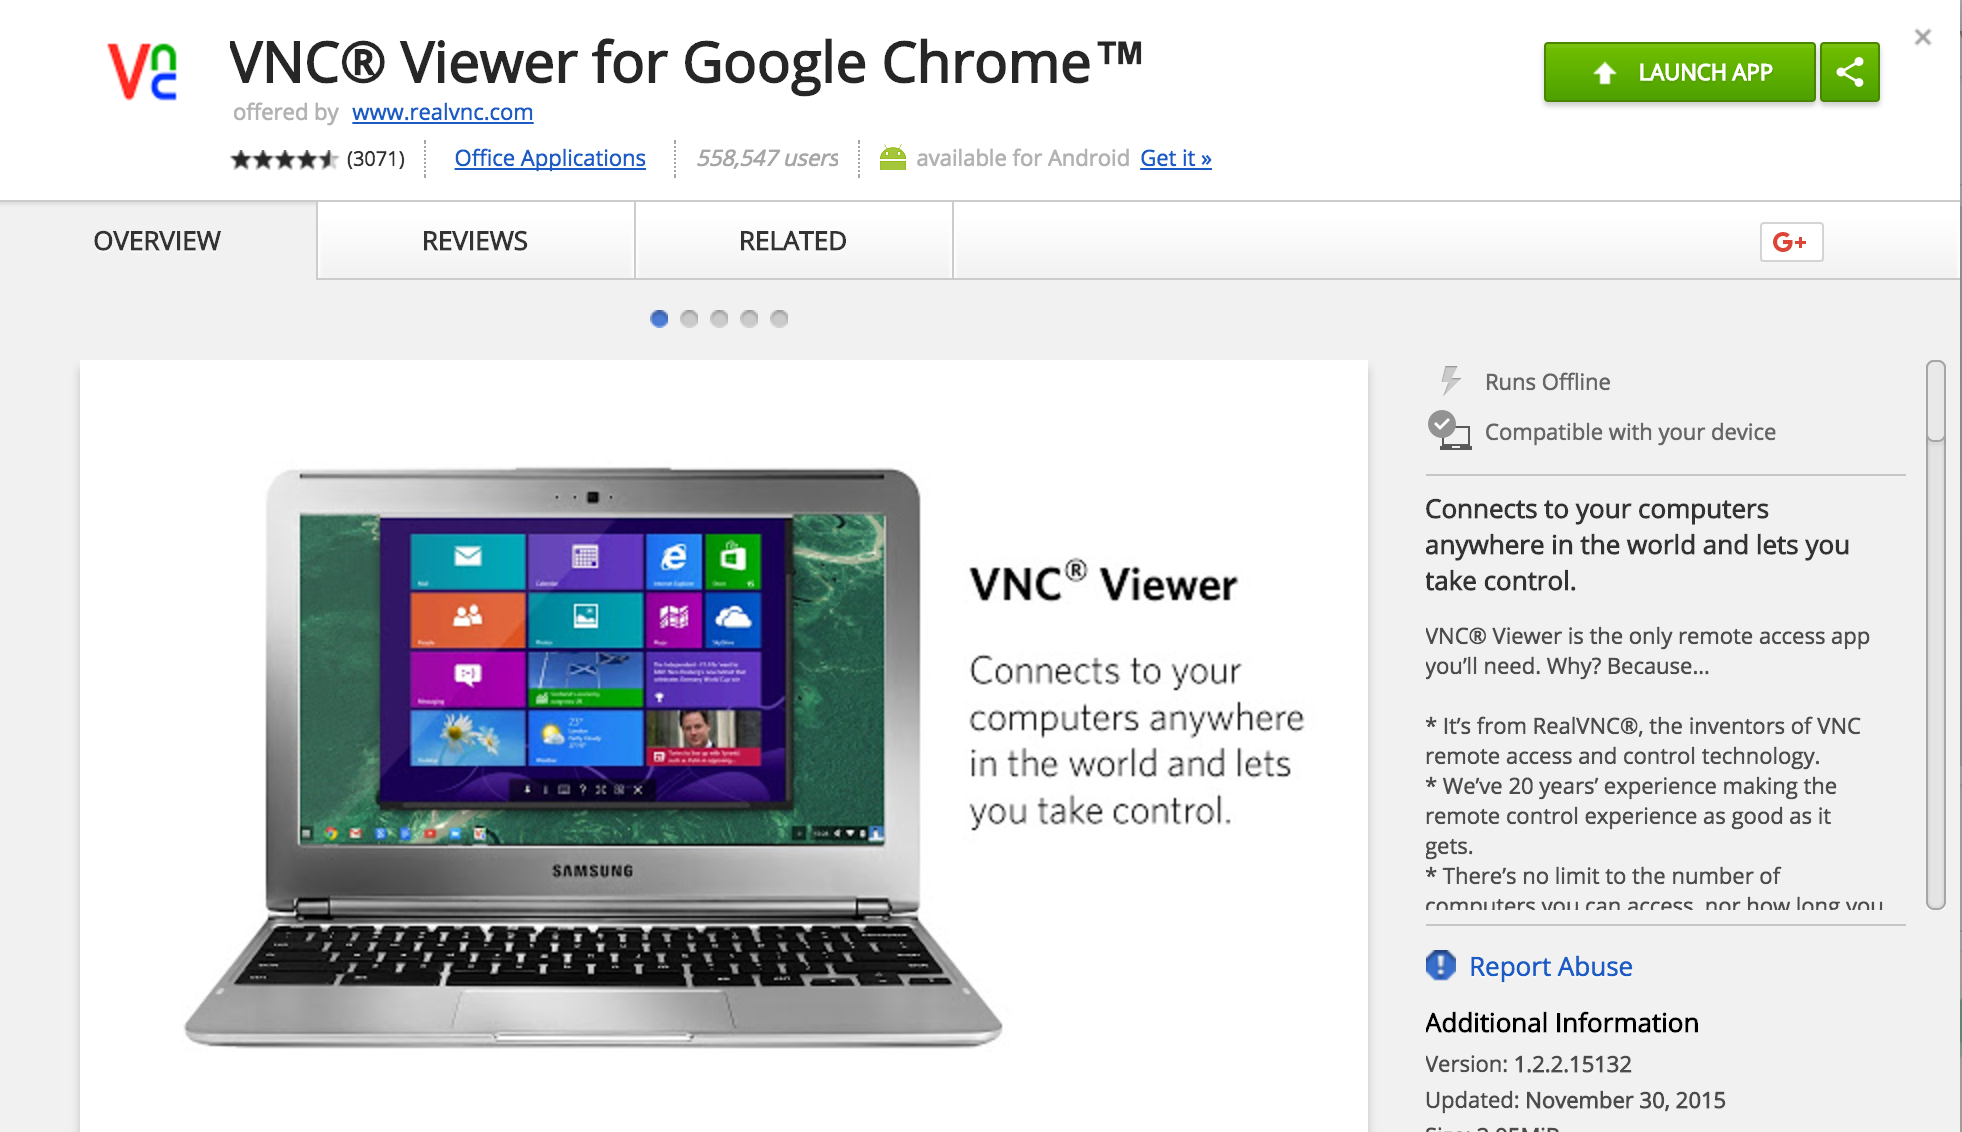
2b) Access the Raspberry Pi through Graphical User Interface (GUI) from Google Chrome
- Download and install VNC viewer from the internet.
- After downloading the VNC viewer by clicking “Add to Chrome,” launch it by clicking “Launch App”
- You can also launch the VNC Viewer from “Apps” in the top left corner of your Google Chrome Browser.
- You can also launch the VNC Viewer from “Apps” in the top left corner of your Google Chrome Browser.
- For “Address” type “raspberrypi.local“ and click “Connect”
- The first time you connect the Raspberry Pi, your machine may take some time to recognize it. If the VNC viewer gives an error message “Cannot establish connection,” please wait a few minutes and try again.
- The first time you connect the Raspberry Pi, a screen will pop up with “Continue Connecting?” Press OK.
- In “Authentication,” use the User name “pi” and Password “raspberry” to login.
- On the desktop login screen, use the user account “pi” and password “raspberry” to login.


3. If your screen is too big or flickering, you may need to adjust the resolution
- Open the Applications Menu (in top right corner of screen)
- Click “Preferences”
- Click “Raspberry Pi Configuration”
- Click “Set Resolution…”
- Choose an appropriate resolution for your monitor. (for example: CEA mode 16 1920×1080 60Hz 16:9)
- It will ask you to reboot. Click Yes.


4. Click the icon on the top left as shown below to launch C-STEM Studio.
![]()
C-STEM Studio in Raspberry Pi is the same as that in Windows and Mac OS X.
5. Change your login password
- Click the Start Menu (the raspberry icon in the upper left corner)
- Click Preferences, then Raspberry Pi Configuration.
- Click “Change Password…” and enter your new password.


6. (Optional) Change the hostname of your Raspberry Pi.
If you will be using multiple Raspberry Pi’s wirelessly in one room at the same time as described in “Access Wirelessly”, you need to change the hostname of your Raspberry Pi.
- Click the Start Menu (the raspberry icon in the upper left corner).
- Click Preferences, then Raspberry Pi Configuration.
- Edit the text in the box next to “Hostname” (circled in the picture below). Remove the default hostname “raspberrypi” and type in a unique hostname, e.g., cstem1.
- Use the new hostname.local, e.g., cstem1.local, to access the Pi (step 3).

7. For Advanced Users: Access the Raspberry Pi through the Command Line Interface (CLI)
- Before you can access the Pi through the CLI, you must enable ssh. To do so,
- Click the Start Menu (the raspberry icon in the upper left corner)
- Click Preferences, then Raspberry Pi Configuration.
- Click on the Interfaces tab
- Next to SSH, check “Enabled”

- Open a terminal and execute the command “ssh pi@raspberrypi.local” or “ssh pi@cstem1.local”
- Type “yes” and hit enter if asking for authorization.
- Type in the login password “raspberry” or your custom password if you have changed it.
